Team
Quick answer - Team is where you invite staff, remove people who leave, and control what each person can access. Use one login per person.
Use this guide when - Owners and managers.
Before you start - Decide what each person needs to do in Resk before you invite them.
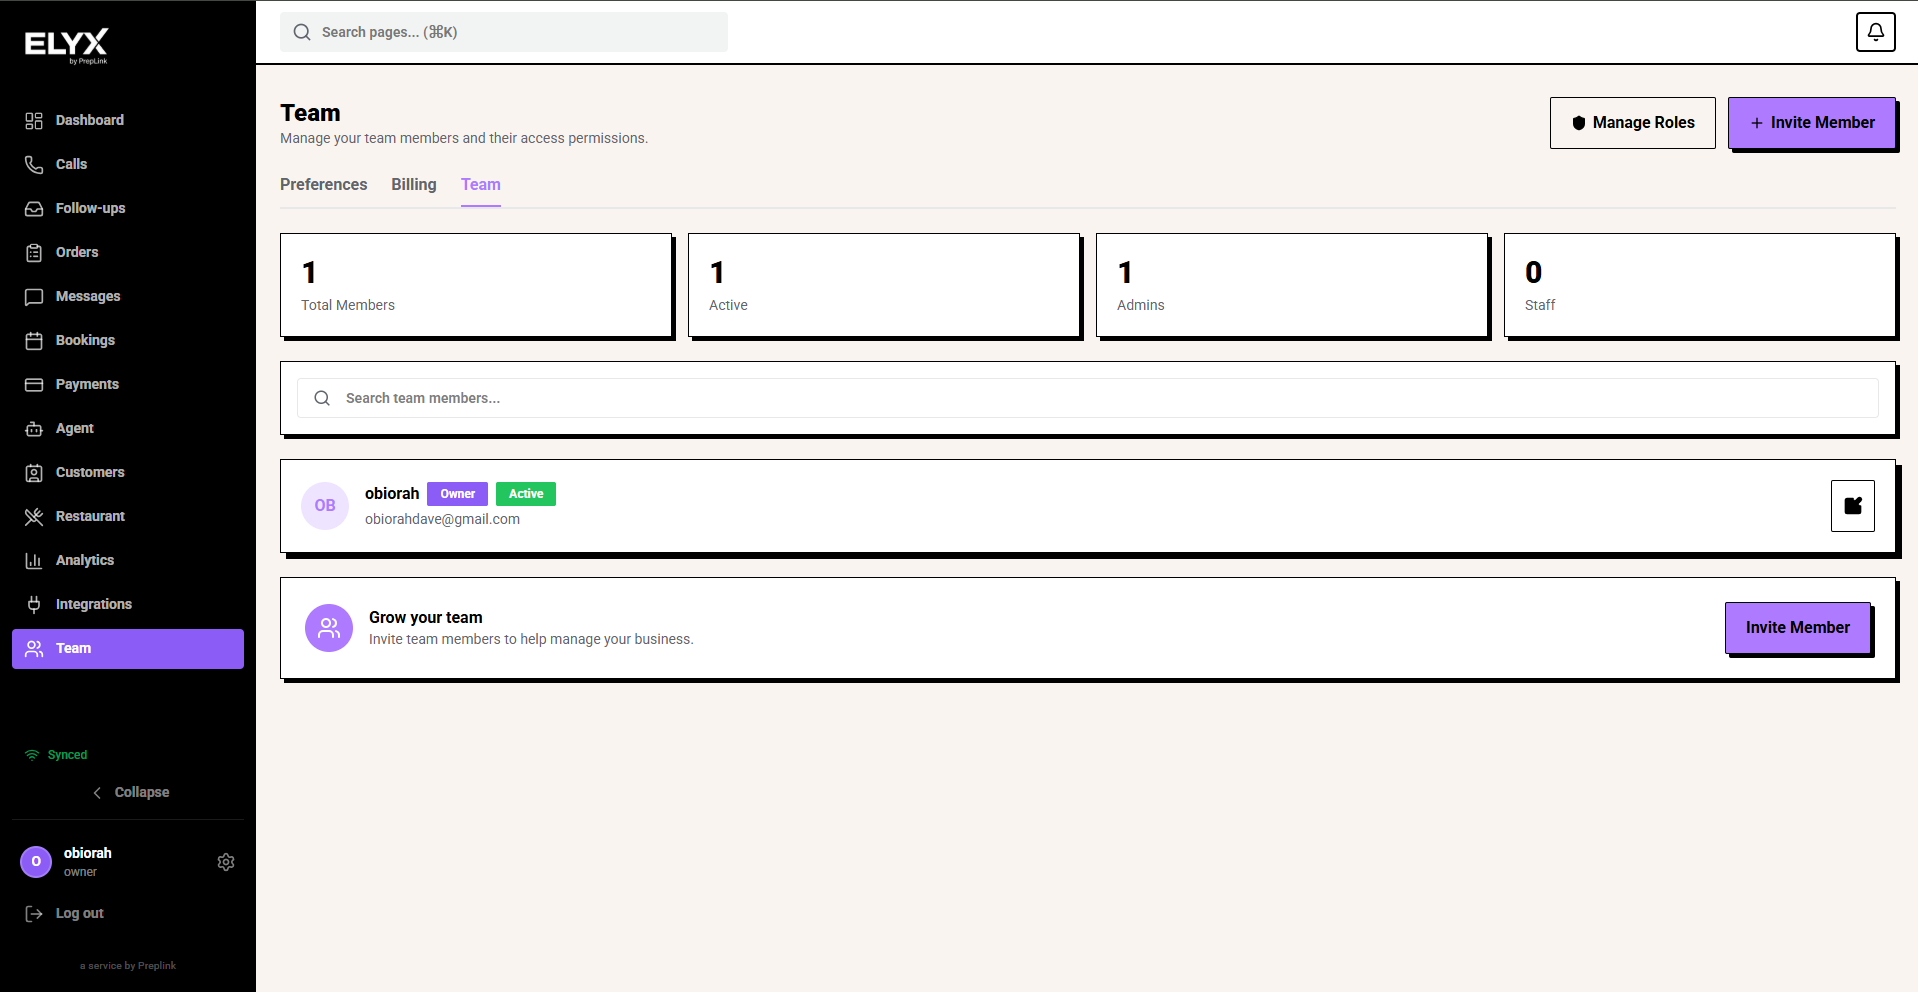
Open Team
- Choose Team from the left menu, or open Settings -> Team.
- Review the current team list.
- Check each person’s role.
- Look for pending invites that were never accepted.
Invite a team member
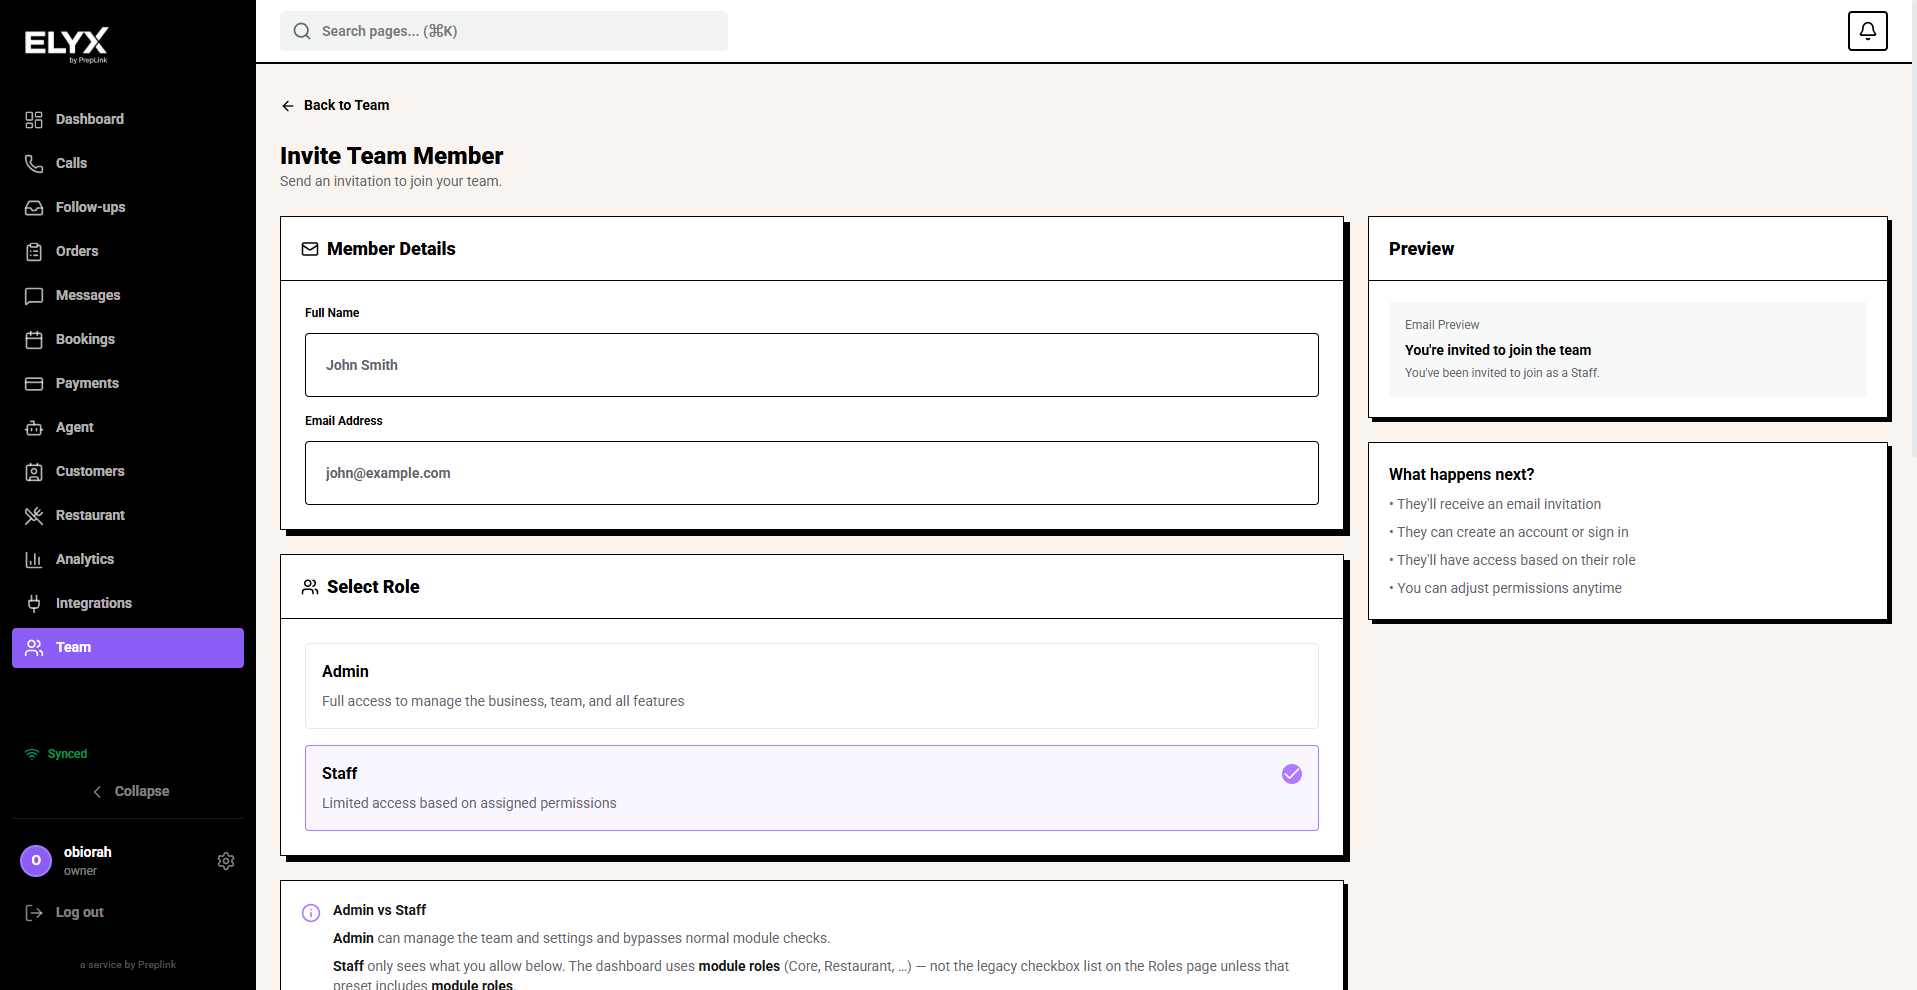
- Choose Invite member.
- Enter the person’s work email.
- Enter their name if required.
- Choose a role or permission preset.
- Review what they will be able to access.
- Send the invite.
- Ask them to accept the email invite.
Open a team member after inviting them
After you invite someone, open their profile to confirm the setup is right before they start using Resk.
- Return to Team.
- Find the new team member.
- Open the member, or choose the edit icon beside their name.
- Check their name, email, role, invite date, and status.
- Save changes if you update anything.
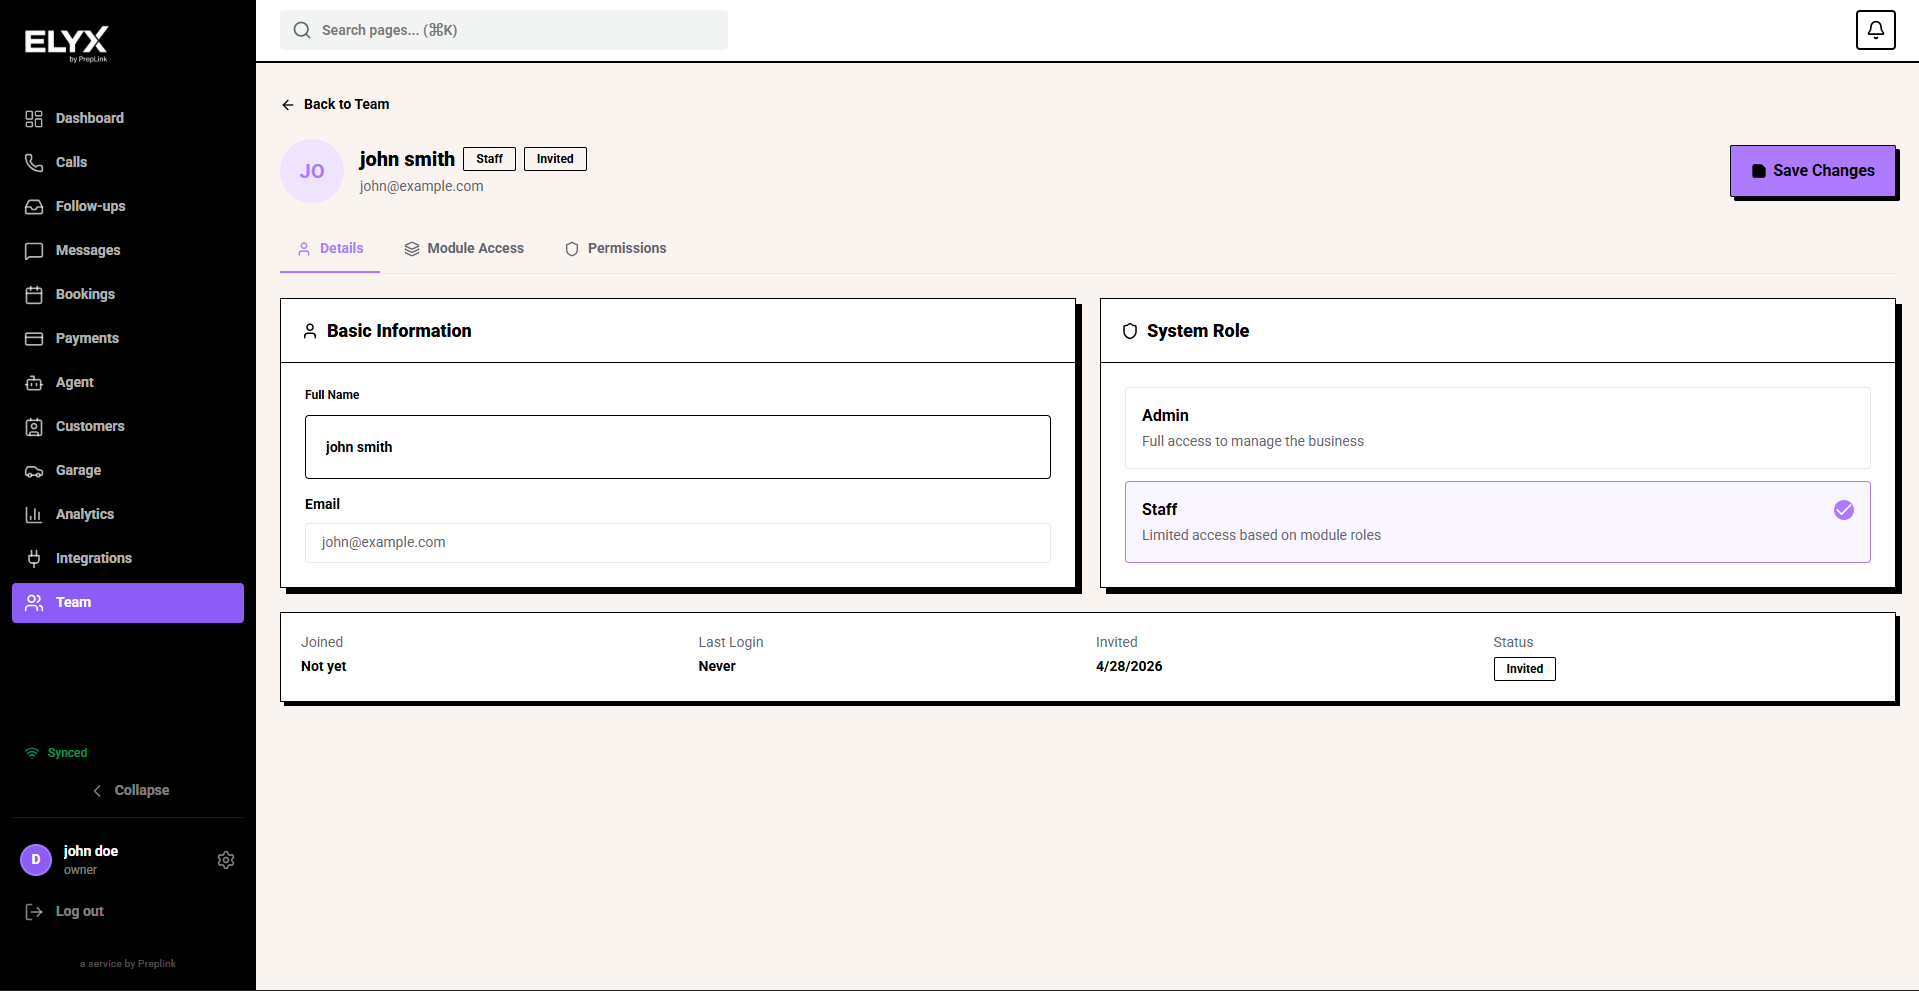
The Details tab is where you confirm basic identity and system role. Use Admin only for people who should manage the business. Use Staff for people whose access should be controlled by module roles and permissions.
Set module access
Module access controls what a staff member can do in each enabled Resk module.
- Open the team member.
- Choose Module Access.
- Review each module, such as Core or Garage.
- Choose the role that matches the person’s job.
- Use No Access when the person should not use that module.
- Choose Save Changes.
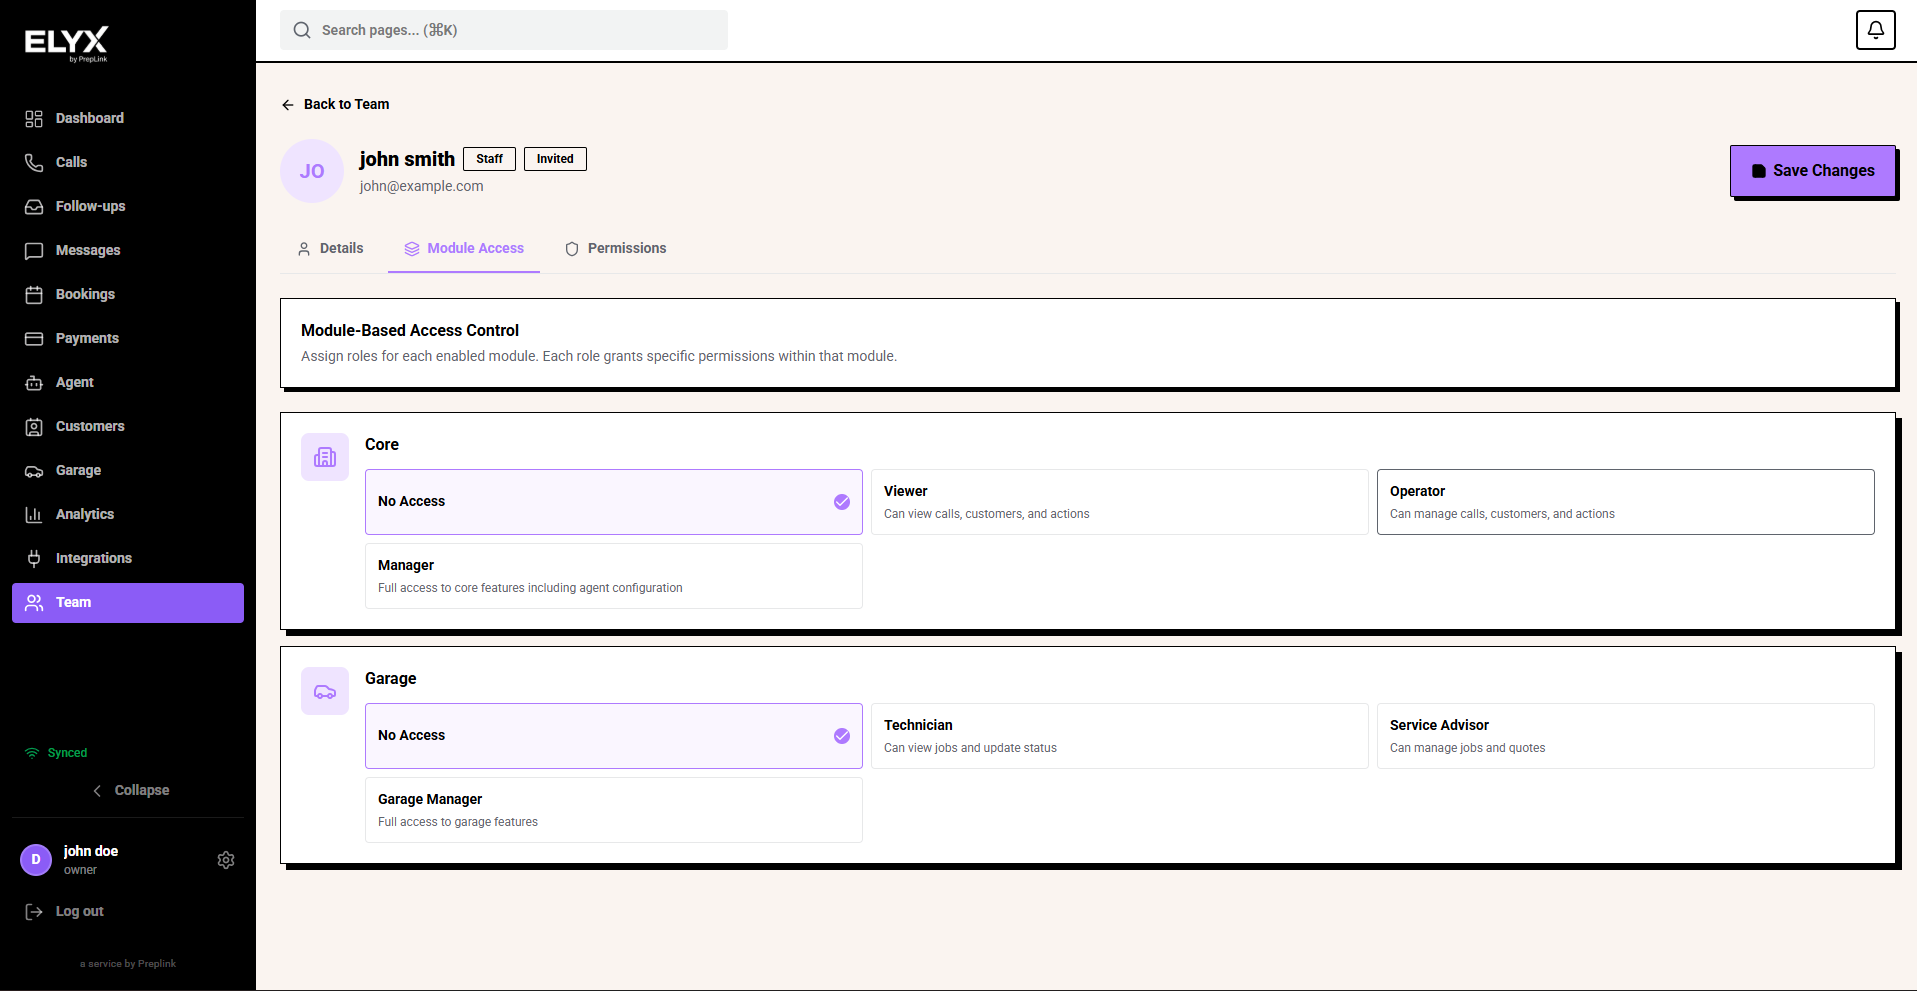
Common examples:
- Core Viewer - can view calls, customers, and actions.
- Core Operator - can manage calls, customers, and actions.
- Core Manager - can manage core features, including agent configuration.
- Garage Technician - can view jobs and update status.
- Garage Service Advisor - can manage jobs and quotes.
- Garage Manager - has full access to garage features.
Start with the smallest role that lets the person do their job. Increase access later if they need it.
Set advanced permissions
Advanced permissions are extra controls beyond the module role. Most staff only need module access, but some roles need specific extra permissions.
- Open the team member.
- Choose Permissions.
- Review each permission group.
- Select only the permissions the person needs.
- Leave sensitive permissions off unless the person is trusted to use them.
- Choose Save Changes.
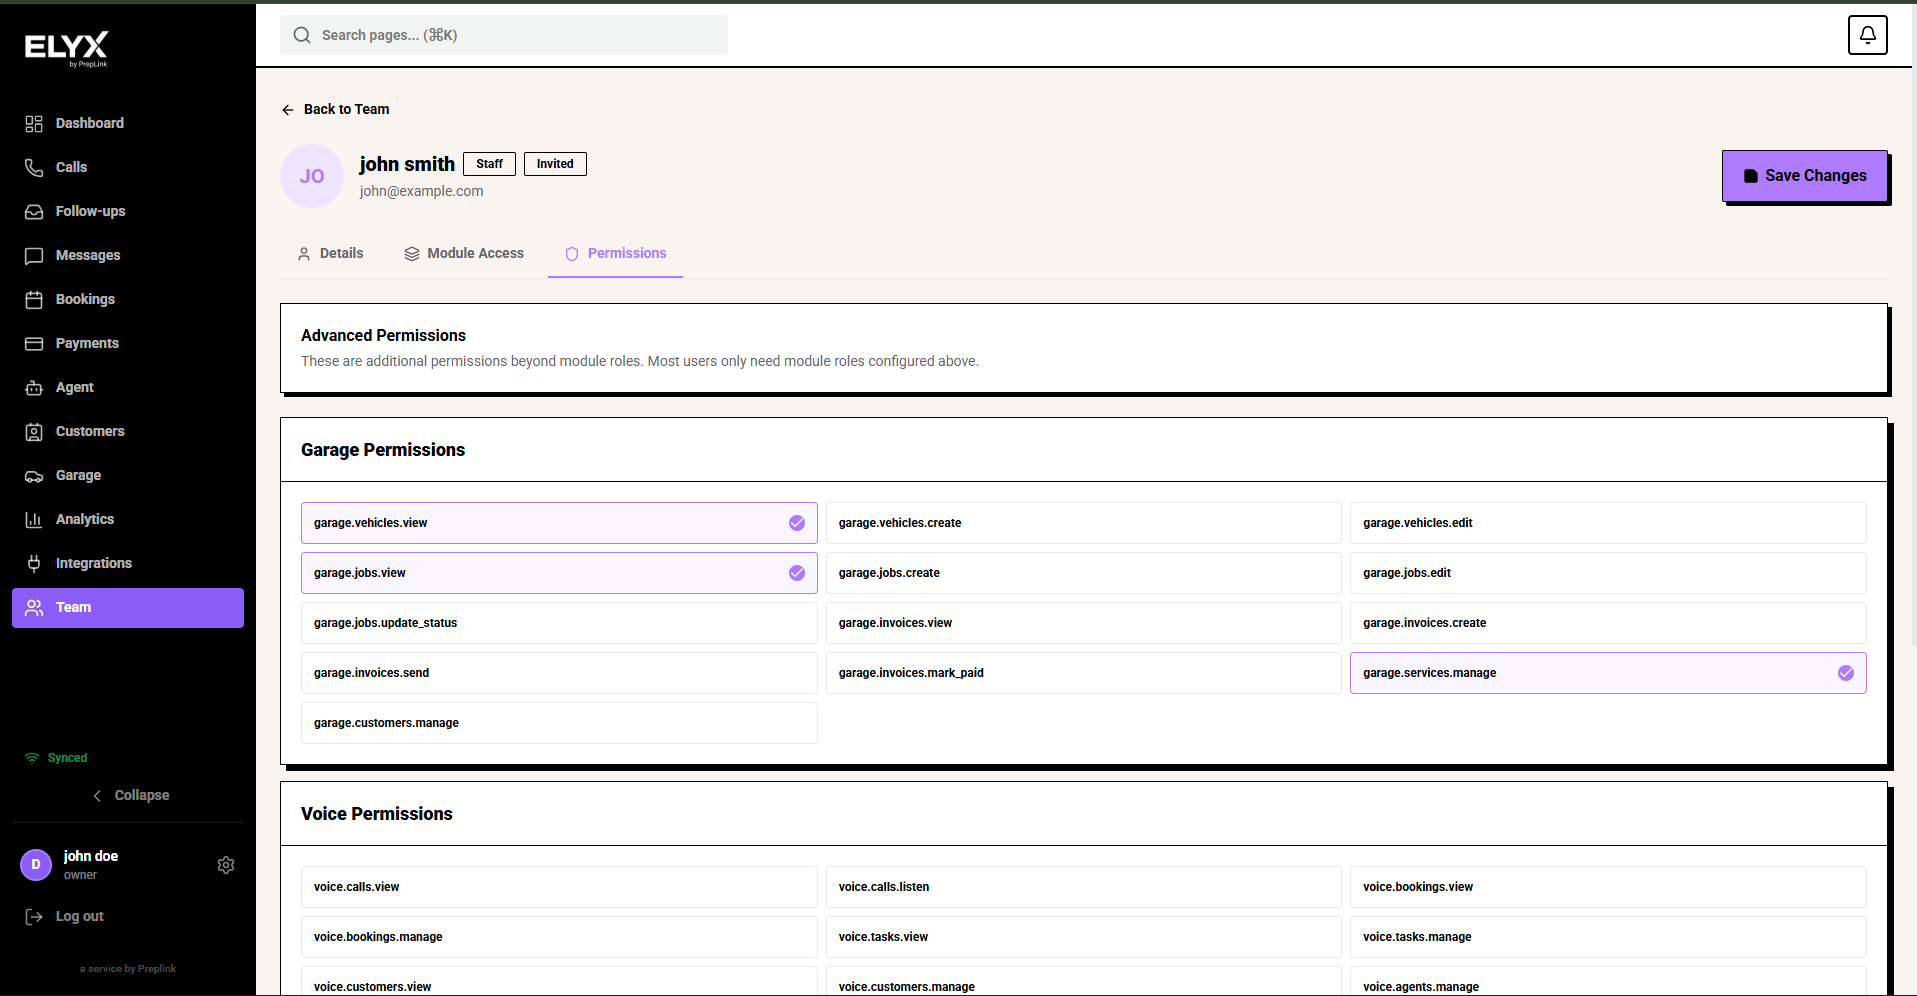
Use advanced permissions carefully for areas such as billing, settings, integrations, invoices, service management, and customer management. If a permission name includes manage, it usually allows changes, not just viewing.
Check whether the invite worked
- Return to Team.
- Look for the person in the list.
- Check whether their status is pending or active.
- If pending, ask them to check Spam or resend the invite if available.
Edit access
- Open the team member.
- Check Details for their system role.
- Check Module Access for module roles.
- Check Permissions for advanced permissions.
- Save.
- Ask the person to refresh or sign back in.
Remove someone
- Open Team.
- Select the person.
- Choose Remove, Deactivate, or similar.
- Confirm.
- Reassign their open follow-ups if needed.
Do this the same day someone leaves the business.
Common role patterns
| Person | Typical access |
|---|---|
| Owner | All setup, billing, payments, team. |
| Manager | Daily operations, reports, staff work. |
| Front desk | Calls, bookings, customers, messages, follow-ups. |
| Restaurant staff | Restaurant module and limited customer context. |
| Garage staff | Garage module, jobs, vehicles, invoices. |
Common mistakes
- Sharing one login across the whole team.
- Forgetting to remove ex-staff.
- Giving billing, payment, or team-management access to people who only need daily operations.
- Leaving old pending invites active.
Related articles
Last updated: April 2026